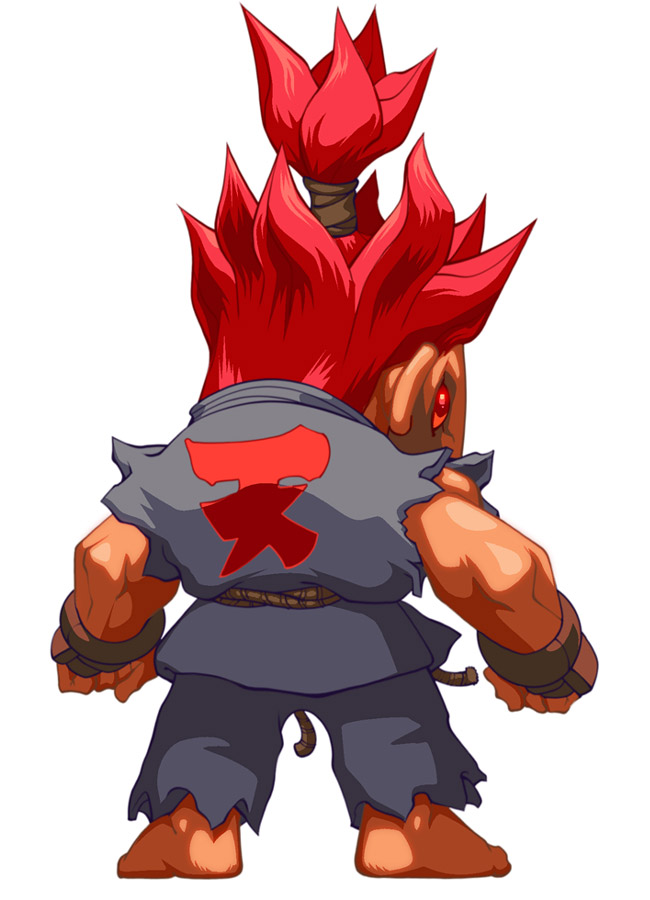
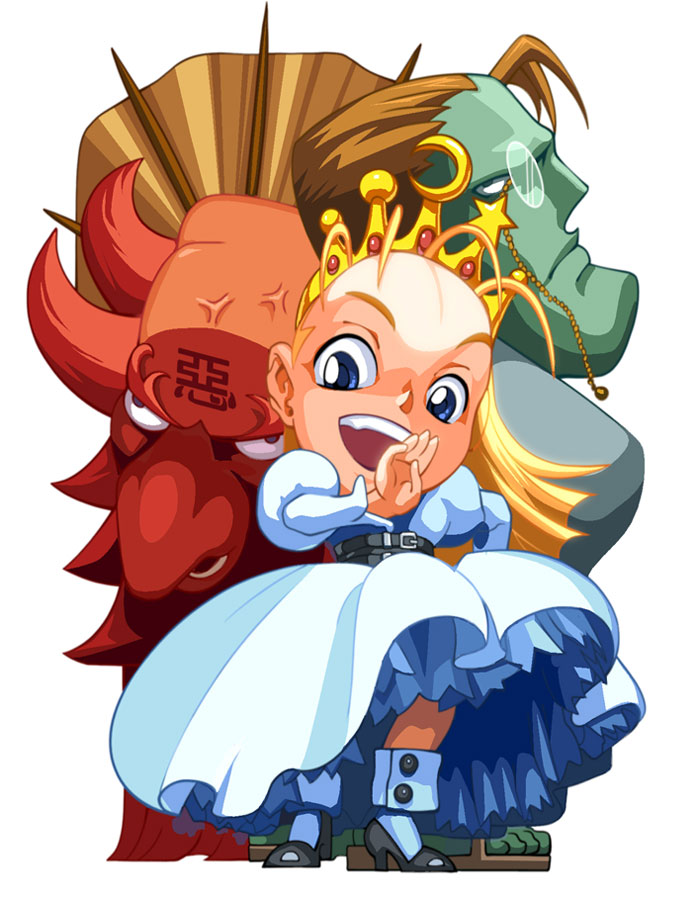
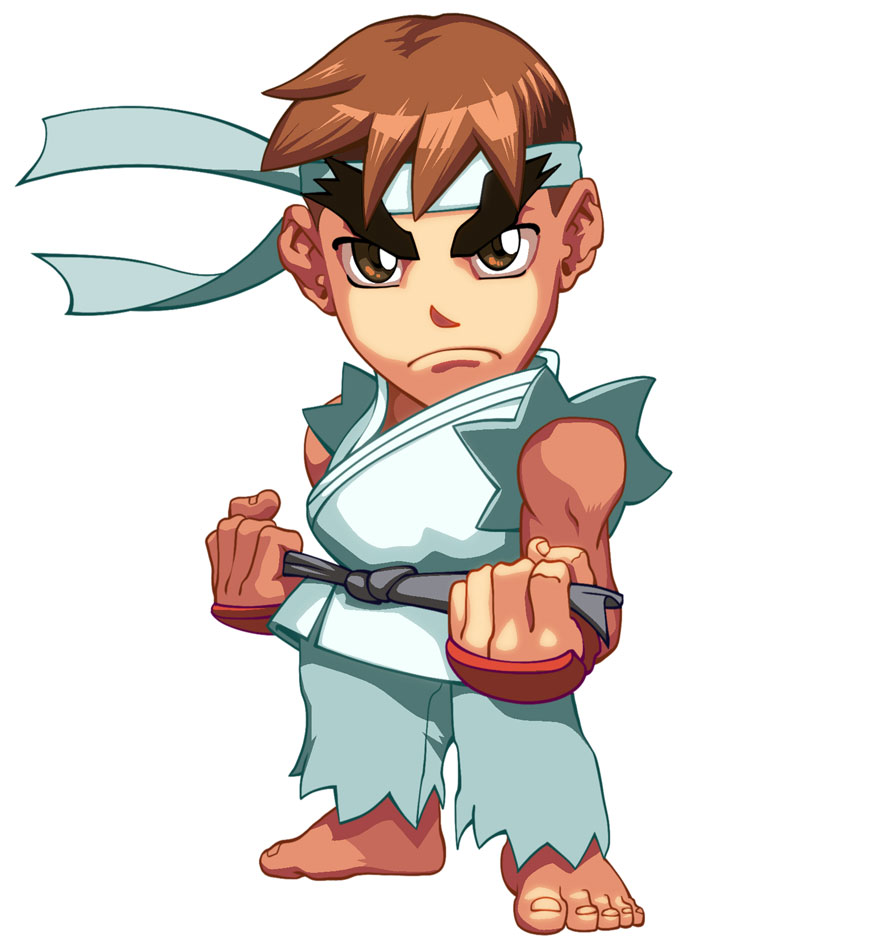
I designed the balance changes and helped oversee the art for the Capcom’s Puzzle Fighter HD Remix, a remake of the original Puzzle Fighter. My high level goal was to change as little as possible because the original game is very well-designed and fun. It’s the single best competitive puzzle game that I know of. That said, the original game does have a problem: only 2 of the 11 characters are playable in a serious match. I did not want to get into any deep changes with the underlying formulas or rules because—character balance aside—the game is very good already. So, I restricted myself to changing only three variables:
1) drop patterns
2) damage scaling per character
3) the “diamond trick.”
| Drop Patterns from the original Puzzle Fighter | ||||
 Akuma (deals 70%) |
||||
 Ryu |
 Chun Li |
 Dan |
 Sakura |
 Ken |
 Morrigan |
 Hsien-Ko |
 Devilot (deals 70%) |
 Donovan |
 Felicia |
| New, Rebalanced Puzzle Fighter Drop Patterns | ||||
 Akuma (deals 100% takes 120%) |
||||
 Ryu |
 Chun Li (deals 120%) |
 Dan |
 Sakura |
 Ken |
 Morrigan |
 Hsien-Ko |
 Devilot (deals 85%) |
 Donovan |
 Felicia |
Drop Patterns
A drop pattern is the pattern of gems you send to the opponent's side after you break gems on your side. Drop patterns help differentiate the characters, but they also serve a useful overall purpose: they allow for defense. Because you know the pattern of colors that the opponent is capable of dropping on your side, it’s possible to build your side so that enemy attacks sometimes help you. If all characters sent random patterns of blocks, it would be very difficult to build up large Power Gems on your side without having them covered up all the time. So we want the drop patterns to be predictable and not too mixed-up.
In the original game, Ken and Donovan were the best because they had the “least bad” drop patterns. Actually, Akuma and Devilot had the best drop patterns, but they also only dealt 70% of normal damage, a handicap that made them the worst characters. Because I knew the game was already fun when playing Ken vs. Donovan (that’s all anyone ever played), I thought it would be good to balance the game around their power-level. For this reason, Ken and Donovan are exactly the same in the rebalanced version.
 |
► ► |
 |
| Old Ken | New Ken (Unchanged) |
|
 |
► ► |
 |
| Old Donovan | New Donovan (Unchanged) |
I also wanted to keep Dan unchanged. He’s a joke character who can only send red gems, so he’s supposed to be the worst. I liked the idea that Akuma and Devilot have the best drop patterns in the game but with a drawback. It’s just that the drawback of dealing only 70% damage was too severe. The new Devilot deals 85% damage (better than 70%!) while the new Akuma’s damage went all the way up to 100% (normal damage). I thought that it would be a more fitting drawback (based on his Street Fighter appearances) if he takes 20% more damage than the other characters.
 |
► ► |
 |
| Old Dan | New Dan (Unchanged) |
|
 |
► ► |
 |
| Old Akuma (Deals 70%) |
New Akuma (Unchanged Pattern Deals 100%, Takes 120%) |
|
 |
► ► |
 |
| Old Devilot (Deals 70%) |
New Devilot (Unchanged Pattern, Deals 85%) |
I didn’t want to tinker with damage scaling numbers for very many characters, so there is only one character besides Akuma and Devilot with a damage adjustment: Chun Li. I thought it would be interesting to make one character that’s the reverse of Akuma: instead of having the best pattern and taking more damage, Chun Li has the worst pattern but deals 20% extra damage. I hope this makes Chun Li a tempting character to play because she has the ability to do so much damage, but her terrible pattern can really backfire against you sometimes.
 |
► ► |
 |
| Old Chun Li | New Chun Li (Unchanged Pattern, deals 120%) |
So far, that’s 6 of the 11 characters, and I haven’t changed a single drop pattern yet! The remaining 5 characters needed new drop patterns, though. Even though these 5 drop patterns needed updates, I wanted to keep the general feel of each one for nostalgia’s sake. Sakura and Felicia had similar patterns, and both suffered from only being able to drop green in column 1 and yellow in column 6. This is a huge disadvantage for both of them, so I mixed up the greens and yellows in each of their column 1 and 6. I mixed up Felicia’s the most (alternating green and yellow each row) because her red/blue middle pattern (power gems!) is worse than Sakura’s red/blue middle pattern (horizontal rows, which we know from Ken are powerful).
After playtesting a while, I decided that even the improved Felicia was too weak. Sending power gems to the opponent was just too much of a handicap, so I changed the red and blue part to a Tetris configuration with interlocking “L” pieces. There were a few possible ways to arrange the Tetris pieces, and I chose the most powerful one, such that it’s kind of hard to build against it without filling up your own column 4. (And remember kids, don’t ever fill up your column 4 because that’s the only column that can make you lose the game.)
 |
► ► |
 |
| Old Sakura | New Sakura | |
 |
► ► |
 |
| Old Felicia | New Felicia |
The red Power Gem in the middle of Morrigan’s pattern was very bad for her, so I replaced it with a slightly better set of interlocking “L” pieces. This change makes the bottom two rows of her drop pattern at least close to the power level of Donovan’s bottom two rows, while the upper part of her pattern is certainly better than Donovan’s.
 |
► ► |
 |
| Old Morrigan | New Morrigan |
Ryu’s pattern was the hardest to decide on. It has a nice flavor in that the all-vertical pattern is simple and opposite of Ken’s all-horizontal pattern. Unfortunately, having an all-vertical pattern is extremely bad in Puzzle Fighter. One good quality Ryu had is that his vertical pattern would not create any Power Gems for you, but it’s very easy to build, say, red in column 2 and let Ryu fill in the red in column 1 for you. Far worse, his inability to drop anything other than yellow in column 4 means that you can place a single yellow crash gem in column 4 (or at the bottom of 3 or 5) and clear out your entire column 4 against Ryu. I stress again that in Puzzle Fighter, column 4 is the only one that matters: when you fill up column 4, you lose.
Although many patterns were tried for Ryu, I ultimately decided to keep his vertical theme, but replace the third row with a jumble of colors. You now at least need one or more green crash gems to clear out your column 4 against him, and the other junk in row 3 somewhat limits the size of the Power Gems his pattern helps you build. When the jumbled row was row 4, Ryu turned out too weak (and identical to his original bad form whenever you sent 18 or fewer gems). When his jumbled row was row 2, he was a bit too strong because his bottom 2 rows were more jumbled than even Akuma and Devilot’s bottom 2 rows. The jumbled 3rd row was about right.
 |
► ► |
 |
| Old Ryu | New Ryu |
This leaves only Hsien-Ko, whose drop pattern in the original game was even worse than it looked at first glance. Although her diagonal-themed pattern sounded good in theory, it was too easy to chain together very tall blue and green power gems against her in practice. Other than Dan, no other character in the rebalanced mode ended up with any columns that only sent a single color (they were eliminated from Ryu, Sakura, and Felicia). Hsien-Ko’s new pattern explores the trade-off of having solid colors in columns 1 and 6 (known to be very bad from the original Sakrua and Felicia), but with columns 2, 3, 4, and 5 that rival Akuma and Devilot’s powerful patterns. Furthermore, I kept the diagonal theme Hsien-Ko originally had, and I also kept the “build blue on left, green on right” counter-measure against her. Her new pattern at least makes it difficult to chain together your huge blue and green towers, and the middle portion is actually very powerful.
 |
► ► |
 |
| Old Hsien-Ko | New Hsien-Ko |
The Diamond
That covers all 11 drop patterns, but there is still one last detail: the diamond. You get the diamond exactly once every 25 pieces, and it will destroy every gem on your screen that's the same color as the gem directly below your diamond when it touches down.
In the original game, the diamond was intended to deal only 50% of the damage you’d do by breaking the same pieces without the diamond. However, there was a glitch that allowed you to bypass this and deal 100% of the damage. In order to perform this “diamond trick,” you must first find a place on your playfield where you can rotate your diamond-piece 180 degrees with just one button press (rather than the usual two presses). For example, if you have a lot of blocks in columns 2 and 4, you could put the diamond-piece in the well in column 3, so that it has no room to rotate horizontally. At this point, hold down on the d-pad, then when the piece touches down (with diamond on top), press rotate at the last moment. The diamond will rotate to the bottom position, and it will appear to break blocks as it always does, but it will do enormous damage because this technique avoids the 50% penalty.
The diamond trick is well-known by Puzzle Fighter tournament players and is considered by many to be a part of the game. Puzzle Fighter has a delicate balance where large attacks that almost kill are the most fun because they give the opponent enough ammunition to fire back a large attack of their own. Small attacks, such as the original diamond with its 50% penalty, aren’t as fun because they don’t nudge the game into that state where you are simultaneously almost winning and almost losing. This is why so many people consider the powerful diamond trick more fun than the original weaker diamond.
That said, it’s pretty convoluted to have to explain this technique to new players. I thought it should just become the default behavior of the diamond all the time, for simplicity’s sake. When this change was made, it ended up making the diamond even more powerful than the diamond trick in the original game. By removing the “trick” aspect, it was much easier to use it on exactly the color you wanted all the time, because no setup was needed (you didn’t have to create that narrow well between pieces to set it up).
Another somewhat related factor was the new “fast drop” feature bound to “up” on the d-pad. The arcade, Saturn, and PlayStation versions did not have this feature (it was new to the limited-release Dreamcast version). The ability to fast-drop pieces actually exacerbated the power of the diamond, because it further increased the reward for playing fast. I felt the game was moving too far towards “play fast at all costs, regardless of how many mistakes you make, just so you can get the diamond.” Playing fast is still necessary to win, but all things pointed to a slightly weaker diamond than the always-100%-diamond-trick version. We toned it down to always doing 80% damage (still quite a step up from the original 50%) damage, and I think it turned out well.
Conclusion
The new game’s gameplay remains very similar to the original game’s, but there’s a wider range of reasonable characters to play and a slightly improved mechanism behind the diamond.


